
I tend to be a creature of habit. I’ve gotten into a routine of grabbing fresh stuff at the farmers market, and then hitting the supermarket to get the rest of my shopping done. While I occasionally use a shopping list, I generally just try to remember what I need or get inspired by something on special. Usually this works out great; occasionally it doesn’t.
After some cooking last night I realized I was almost out of salt, a couple spices, and I was gonna be lucky if I could squeeze enough toothpaste out of the tube to brush my teeth in the morning. After getting a couple chores done this morning, I decided I’d head to the market to get the few things I needed. Usually I just make a beeline for the stuff I need, but I decided to wander through the produce section…and look what I saw!
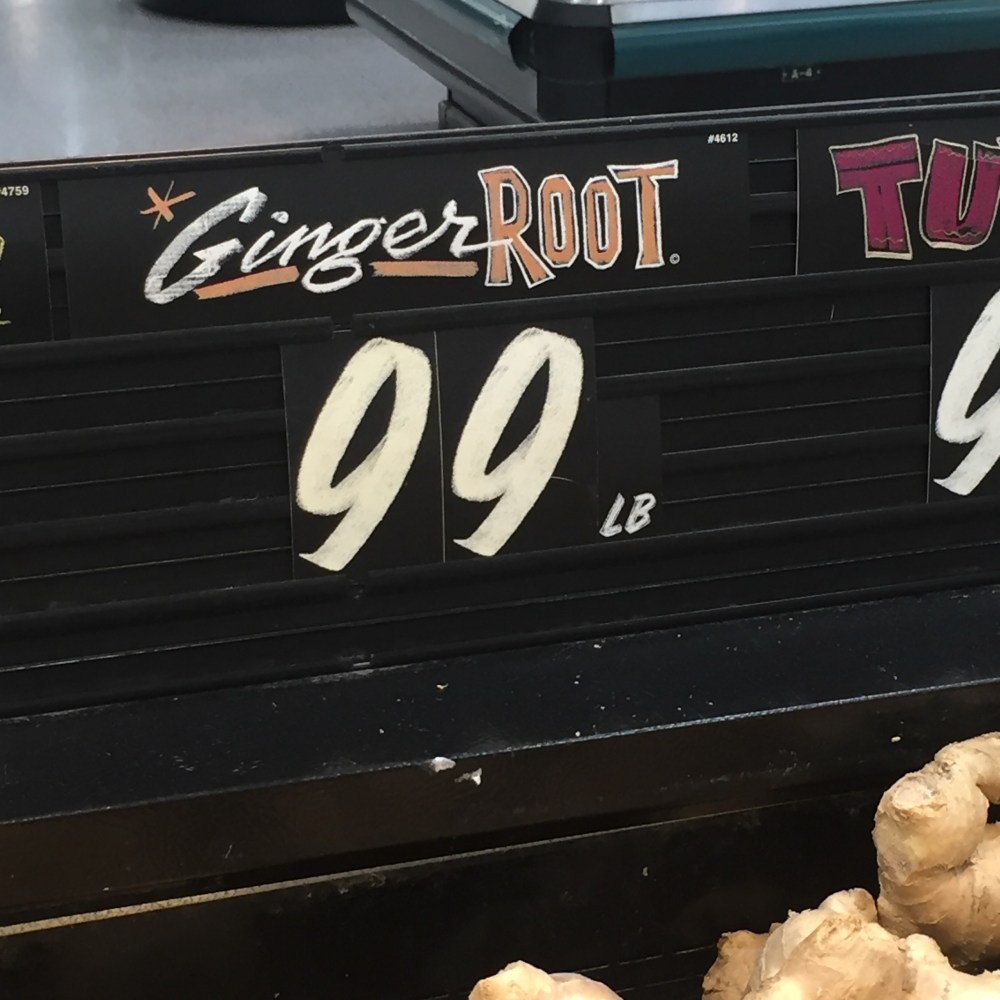
I love ginger! I’d been pondering making some simple syrup and ginger beer, but I wasn’t feeling the $4.99 a pound ginger tends to cost. I immediately grabbed the biggest piece they had, which weighed in at around 1 1/2 pounds. There will be several ginger projects this week!
I’ve been making fermented beverages on and off for about 15 years. A college roommate got me interested in brewing beer, and when I moved to Davis Square, I realized there was a brewing shop just a five-minute bike ride from my house.
All while I was growing up, one of my favorite things was my grandfather’s root beer. It was certainly not the flavor of the store-bought stuff, and took a bit of getting used to, but I loved it! As I got older, he made it less and less, but he would usually have a 6-pack ready for me if he knew I was coming for a visit. At one point it was banned from my mother’s house, as he bottled it directly into glass bottles and never told me it needed to be chilled. One day several bottles exploded in my bedroom, sending glass bits and sticky liquid all over the place.
During my beer brewing phase, I read an article in a brewing magazine about homemade root beer and set out to try it myself. Root beer is a tricky beverage to get right. While I made a few batches that tasted decent, there were also some batches that were downright bad. As I was more interested in brewing beer than making fermented sodas, I went back to my beer making and forgot about soda.
When I moved to Tulsa, I really didn’t know anyone, so as I tend to do when I’m bored, I played around with cooking things. I stumbled across a recipe for homemade ginger beer on one of the cooking blogs I read that used a ginger bug, so I decided to give it a go. After a couple batches, I had a yummy beverage that was good by itself or in a mixed drink. I did have some issues with growing a ginger bug consistently, but I realized I could go back to my brewing roots and use packaged yeast.
Most flavored sodas are really simple to make at home. You’ll need the juice of whatever you’re flavoring your soda with, water, sugar and yeast. This recipe makes a 2 liter batch, which is a good size. You can scale it up if you want to make more without any worry. All you need is a bit of ginger root, sugar, a lemon, yeast and water!

When I made root beer before, I usually had some ale yeast kicking around in the fridge… either something I’d bought for a project, or something I was growing. Ale yeasts tend to come in a larger package than I’d need for a 2 liter sized project, so I settled on champagne yeast, as it’s got a neutral flavor and tends to come in a smaller package.

As I’ve now got a bounty of ginger, I’m going to give a ginger bug a try later in the week. While it’s easier to deal with packaged yeast, I do like the idea of a probiotic soda. I’ll let you know how it goes some other time!
You need to peel the ginger and either shred it with a box grater or use a blender. I’m using my new Ninja that Kelly got me for my birthday a few weeks ago. Add 4 cups of water and the ginger (chopped into a couple pieces) to the blender, then juice the lemon and pour it through a strainer into the blender. Then blend it all on high for about 30 seconds until it’s pretty well shredded.


You’re going to be making a 9 cup batch, which is a hair over 2 quarts, so use a 3 1/2 quart dish. Pour the mixture into the dish and bring it to a boil over medium heat.

After it comes to a boil, remove from the heat and add your sugar. Stir until all of the sugar is dissolved. Add 5 more cups of water. Let the mixture cool until it gets to about 80 degrees. Sprinkle 1/2 teaspoon of yeast over the top of the mixture. The package tells you to heat 1/2 cup of water to 100-105ºF, let it steep, and then pitch it. It seems like quite a hot temp for brewing yeast…as long as it’s higher than 70 degs F, the yeast will wake up and do its job.
Give the mixture a light whisk for 30 seconds, then cover with a towel and let it cool for a couple hours. Now comes a bit of a safety lecture…
So brewing yeast converts sugars into CO2 and alcohol. The amount of alcohol it makes is fairly small, but it makes quite a bit of CO2, which is what makes our homemade soda carbonated. Your average glass beer bottle isn’t designed to hold a lot of pressure, so using a plastic bottle is your safest route.
My grandfather pitched his yeast and bottled his in glass bottles, which (knowing what I do now) was nuts! His root beer eventually got banned from my mother’s house when I brought back a batch and left it in my room. A day or so later we heard a couple of loud pops and glass breaking. A couple bottles had exploded and made quite the mess. I had a similar incident in my father’s car driving home from visiting my grandparents one time. Dad was less than pleased that his car smelled of root beer for a week.
After you’ve let your ginger mixture cool, transfer it to a clean plastic soda bottle. I use an old 2 liter soda bottle. I rinse it out a couple of times with a little bit of dish detergent, and then give it a rinse of high proof alcohol. As with beer brewing, you don’t want something else (like mold) to take advantage of your warm sugary liquid.


I use a funnel and pour it from a bowl with a spout. It’s useful to have a helper at this stage. You don’t want to fill it completely to the brim; give yourself a couple of inches. Put the cap on lightly and give it a bit of a squeeze. Tighten the top and set it someplace warm and dark.


The next morning take a look your bottle, and you should notice that the pressure has increased and it’s back to it’s original shape. You’ll want to let out some of the pressure a couple of times a day. You’ll need to do it slowly and carefully to make sure you don’t make a mess. I use the kitchen sink as it’s probably the safest place.


Loosen the top slowly, and you’ll notice that it starts to fizz like it’s gonna explode. Tighten it down before the bubbles get to the top. I do this a couple of times, and then stash it back out of the way.
After 2-3 days, take a taste and see if it’s both bubbly enough and at the sweetness level you like. If you prefer a less sweet taste, you can set it back and let it ferment for another day or so. If you are happy with the taste, go ahead and put it in your fridge. Let it chill for a couple of hours before enjoying your first home made soda!
This recipe is very ginger forward, which is how I like mine. You can use as little as 4o grams of ginger and it’s still yummy.
Fermented Ginger Beer
makes about 2 liters
- 70 grams of fresh ginger root, peeled
- 1 cup of pure cane sugar (I use organic, but regular old white sugar works too!)
- 1/4 cup of fresh lemon juice
- 1/2 tsp of Champagne yeast (you can also use bread yeast or beer yeast)
- 9 cups of water
- Using a box grater, finely shred your ginger (I used my new Ninja mixer!)
- You’ll want a pot that will hold 9 cups of water, which is slightly more than 2 quarts. I use a 3 1/2 quart pot, as it’s the perfect size.
- Add 4 1/2 cups of water to your pot, along with lemon juice and ginger.
- Bring to a boil over medium heat. Once it starts to boil, remove from heat.
- Stir in sugar, and continue stirring until all sugar is dissolved.
- Add the rest of the water and let cool until it reaches just under 80ºF. Sprinkle yeast over the top of your liquid, stirring for about 30 seconds to make sure it’s well mixed.
- Cover your pot with a towel and let rest in a warm place for a couple hours.
- After 2-3 hours, transfer your mixture to a clean dry plastic 2 liter bottle. Don’t fill it all the way to the top; leave yourself a couple inches. Give the bottle a good squeeze to get the air out and put the top on.
- Store in a dark place that maintains a temp in the 60-72ºF range.
- Check it a couple of times a day and you’ll notice that the pressure has built up, and forced the bottle back into shape. Very slowly, loosen the top to let the pressure escape, and you’ll see it start to foam. Once you’ve released the pressure, give it another squeeze and set it back to ferment.
- After 2-3 days, give it a try and see if it’s at the carbonation point and sweetness level you like. The longer you leave it, the more the yeast will convert the sugar to CO2 and alcohol, and the result is a drier beverage. The amount of alcohol is tiny, usually less than 1%, so it’s still kid-friendly.
- Once you’re happy with your ginger beer, carefully transfer the liquid to another container, being careful not to stir up the yeast and ginger that has settled at the bottom. It won’t hurt you if you end up with some in your finished beverage, but it can produce some off flavors
- At this point, you can use either glass or plastic, though I recommend keeping it in plastic. Either way, you’ll need to chill it, or the tiny amount of leftover yeast will continue to ferment and the bottle will explode!
Notes
- I can’t stress how dangerous it is to ferment this in a glass container. As I said above, I once had several bottles explode at my mom’s, and once a couple bottles exploded in the back seat of my fathers car on the way home. It’s just safer to use plastic!
- Make sure you really clean out your fermenting bottle. I use a small amount of dish soap, rinsing it out several times, and then give it rinse with high proof alcohol. Warm sugary liquid is not only an ideal growing medium for yeast, it’s an ideal growing medium for many other things that will make your beverage taste off.
- Keeping the temperature constant and within the range of 60-70ºF is important. If it’s too cold or too hot your yeast will struggle and you will get funky flavors in your brew.
